Category: Cooperative Extension

Prep your Waxed Amaryllis to Rebloom Next Year
January 10, 2022 Written by Ann A., Delaware Master Gardener
Did you receive a wax-covered Amaryllis over the holidays, only to be disappointed that it will not bloom again? Sadly, due to the wax, it is not even compostable after its useful life is over.
Of course, the amaryllis won’t grow roots with wax on the bulb. So first, carefully remove the wax. Sometimes it comes off in little pieces. Other times a big chunk of wax will come off and then peels off quickly. Try to leave as much brown covering on the bulb as possible. It doesn’t matter which end you begin removing the wax. If starting at the base, carefully take a sharp knife and cut a “v” into the edge and then carefully pick off the wax.


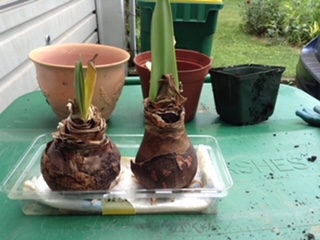
Once all of the wax is removed, find a sturdy, small flat plastic lid with sides and fold a paper towel to fit inside. The rectangular plastic lid in the picture below came from baked goods in a local store and the lid conveniently holds two amaryllis bulbs on the windowsill.

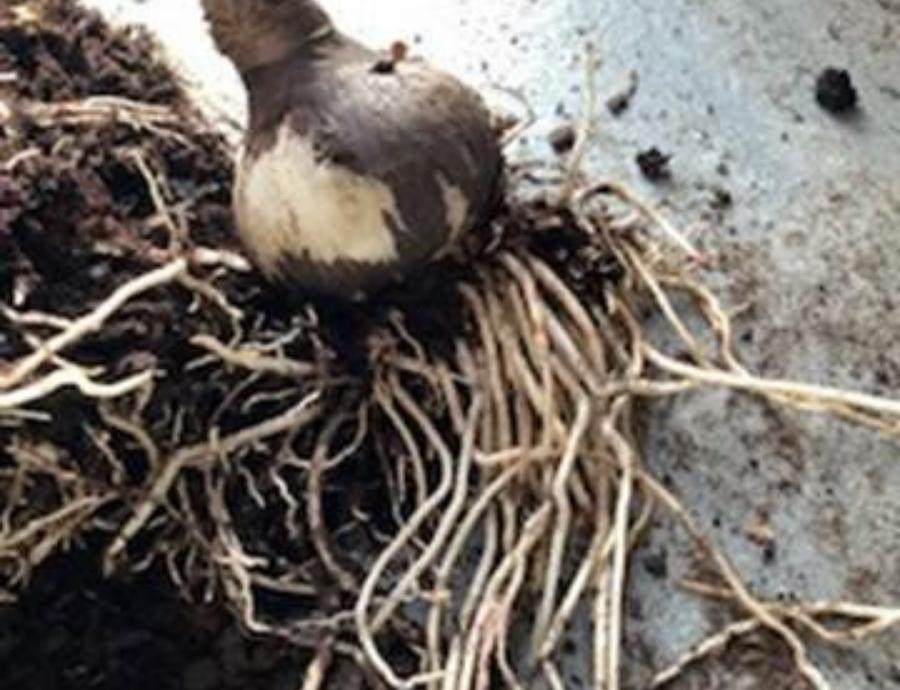
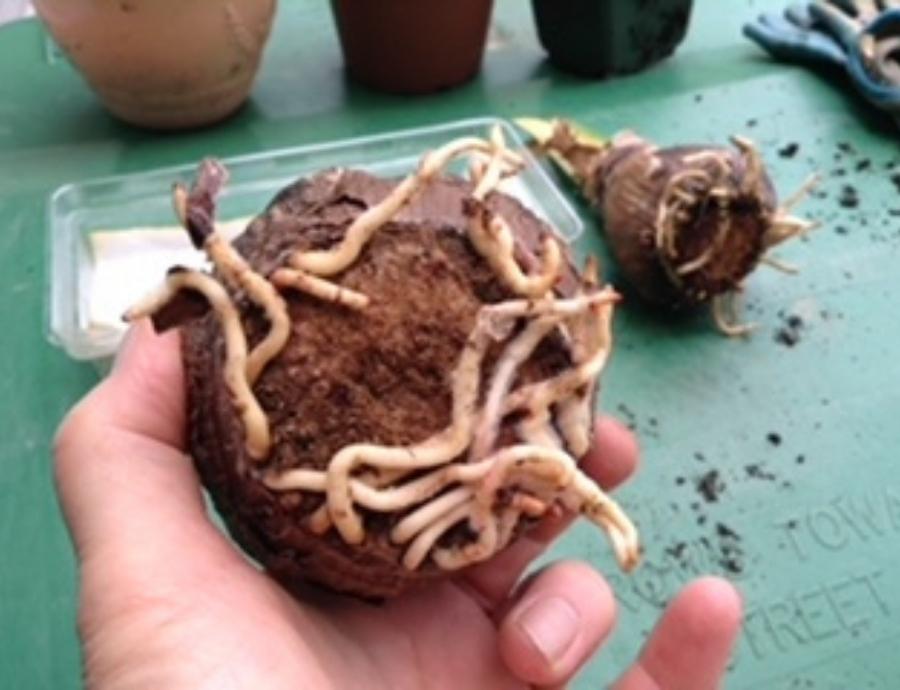
The paper towel should be folded to at least double thickness. Dampen the towel until it is barely damp, place the bulb on top of the towel and place the lid with the bulb in a sunny window. Depending on the temperature in your house and sunlight hitting the towel, check the bulb daily or every few days to keep the towel evenly damp. There should not be any standing water in the tray. In approximately 4 to 6 weeks, white roots should begin to appear. Gradually increase the amount of water on the towel. Still, there should not be any standing water in the tray.
When there are approximately 4 to 5 roots, each about 3 inches long, place the bulb in a flower pot/container with holes. The container should be 1 to 2 inches wider than the bulb all the way around. Regular potting soil should be used to pot your bulb. Soil should be just slightly below the top of the rounded part of the bulb. The neck should be fully visible. Personally, I use a coffee filter at the bottom of my container. The filter covers the bottom of the container and extends up the inside walls at least 2 inch. I do not use chards or rocks as the roots may get stuck among the chards and rocks.
