
How to Complete an Application
Complete a Disability Support Services Application
To begin the DSS Registration process, the student completes an application. This application must be completed by the student requesting UD accommodations. Please note that to request new academic accommodations, you must complete the New Academic Accommodations Application.
Students must be enrolled at UD and will need to use their UD Student ID Number (nine digits) and UD email address.
Note: You do not need to submit documentation before starting your application. You can return to the application center and upload documentation at any time.
How to Complete and Submit an Application: youtube.com/watch?v=UyojytoIG5c
Ways to Submit Documentation
Submit documentation using one of the following methods:
- Upload your documentation to your application in the Portal (preferred).
- Fax to 302-831-3261.
- Email to dssoffice@udel.edu.
- Mail to Office of Disability Support Services, 240 Academy Street, Alison Hall Suite 130, Newark, DE 19716.
Steps to Complete a DSS Application
Step 1: Go to the DSS Portal and select Start/Resume Application.
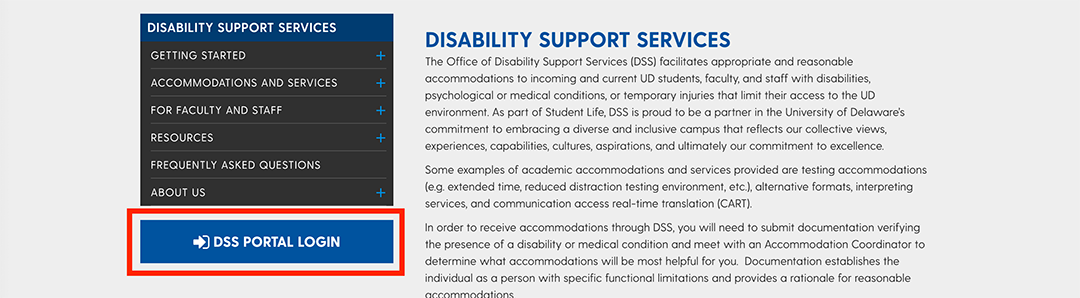
Step 2: Select Start/Resume Application in the Application Center (Note: Do not use the SIGN IN button.)

Step 3: Enter your UD email and click Send Confirmation Code.
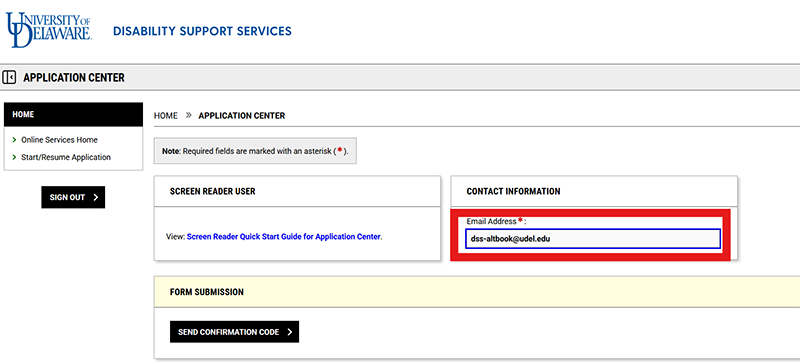
Step 4: Check your UD email address for the confirmation code. Enter the code to access the Application Center.
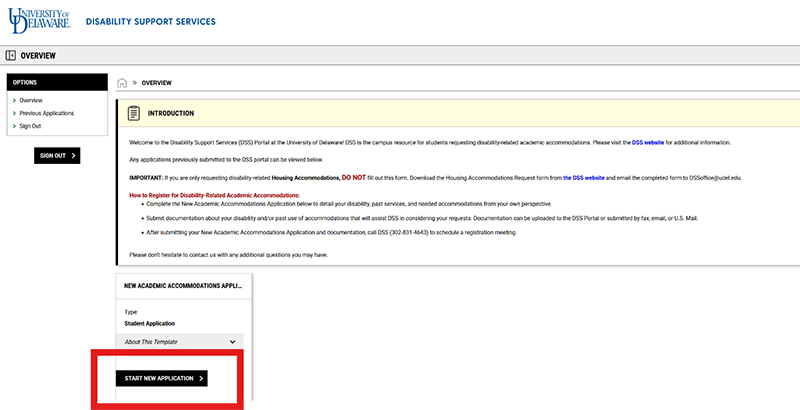
Step 5: Choose the appropriate type of application from the options below and select "Start New Application."
Note: To request new academic accommodations, select the New Academic Accommodations Application.
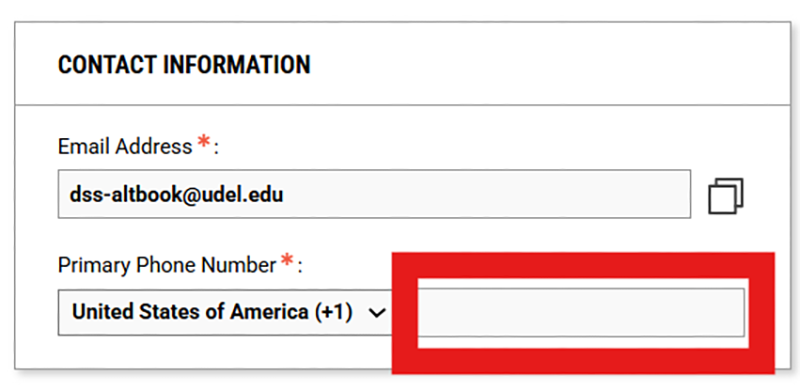
Step 6: Enter Contact Information:
- Enter your phone number.
Important: Provide your phone number, not your parents’, so we can contact you directly if needed. - Select any UD programs with which you are affiliated.
- Complete all required fields with your personal information.
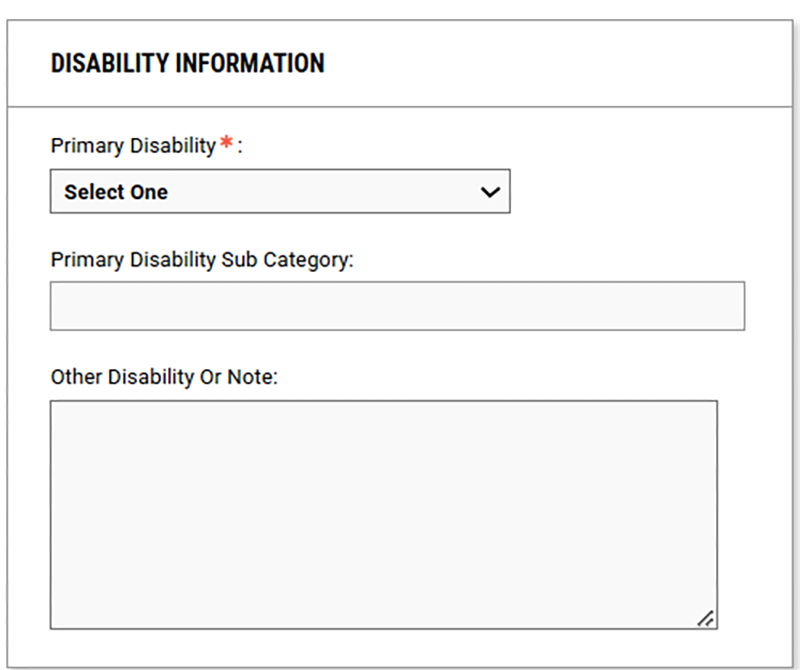
Step 7: Complete Disability Information fields.
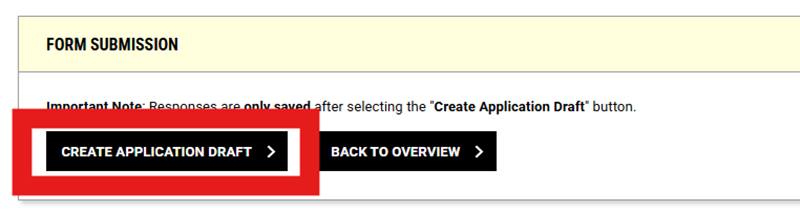
Step 8: Save your application as a draft.
Select Create Application Draft to save your application in a draft format to which you can return later.
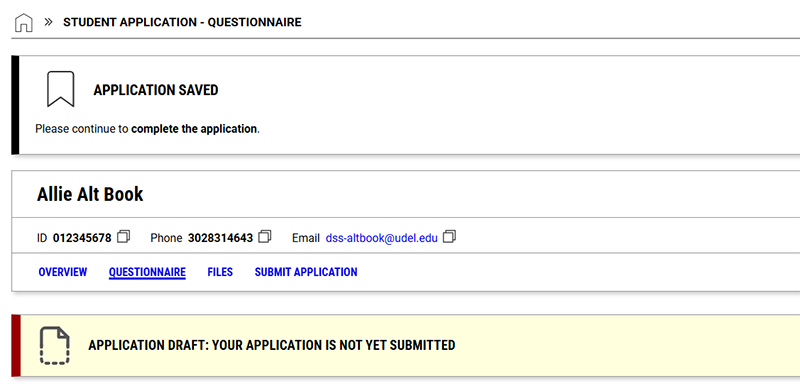
The next screen will confirm that your application has been saved as a draft.
Step 9: Answer additional questions.
Once you create an application draft, you will be prompted to answer additional questions. Multiple selections are permitted.
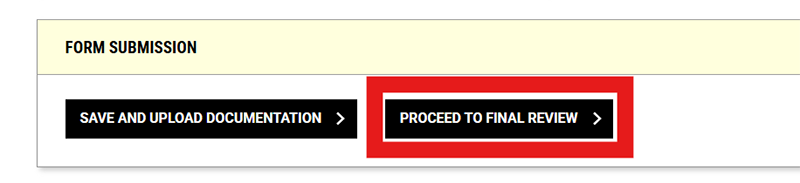
Step 10: Select Save and Upload Documentation.

Step 11: Submit appropriate documentation about your disability. You will be prompted to upload your documentation if available.
Note: If your documentation is not yet available or will be submitted to the office via email, mail, or fax, select Proceed to Final Review.
Step 12: Submit Application
If no files have been uploaded yet, you can still proceed. Select "Submit Application."
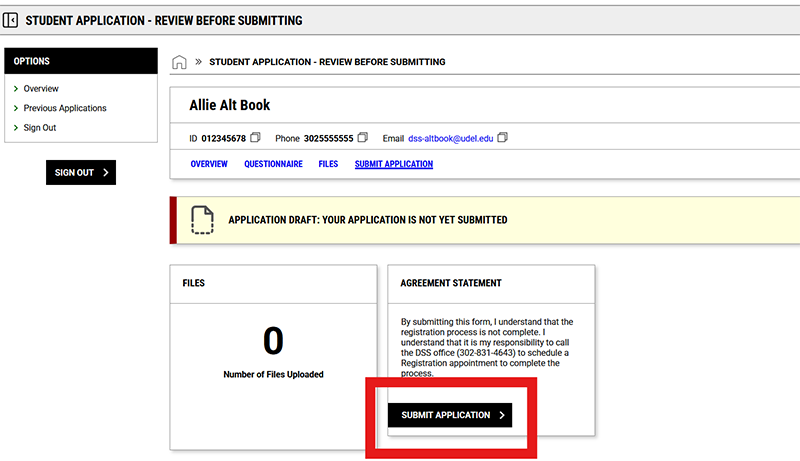
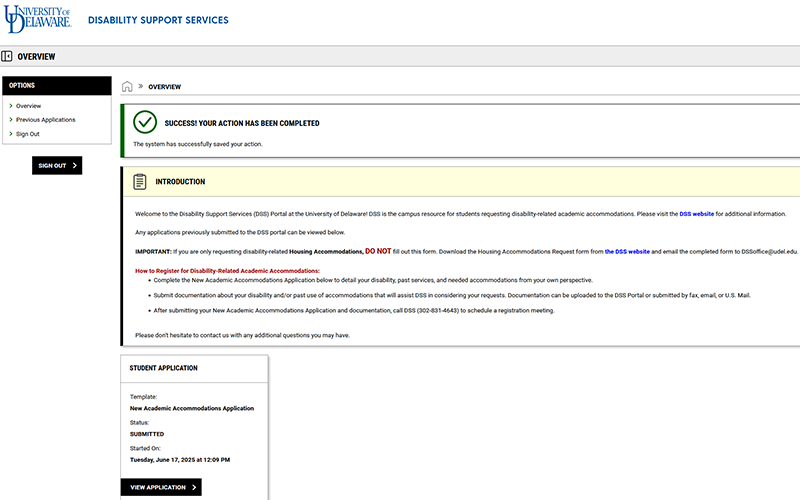
You will see confirmation that your application has been submitted. You can resume your application at any time to upload files.
Return to Draft Application and Upload Documentation
Step 1: Resume Your Application. Follow Steps 1–3 above to return to your application.
Step 2: Continue Your Application by selecting "Resume Application."
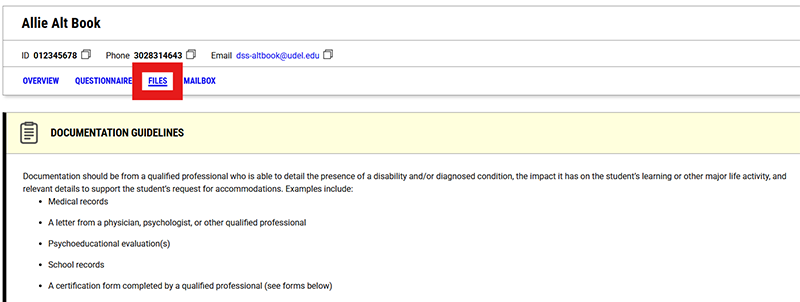
Step 3: Select the Files section from the top menu.
Step 4: Upload Your Documentation. Choose the file you would like to submit, then select "Upload File."
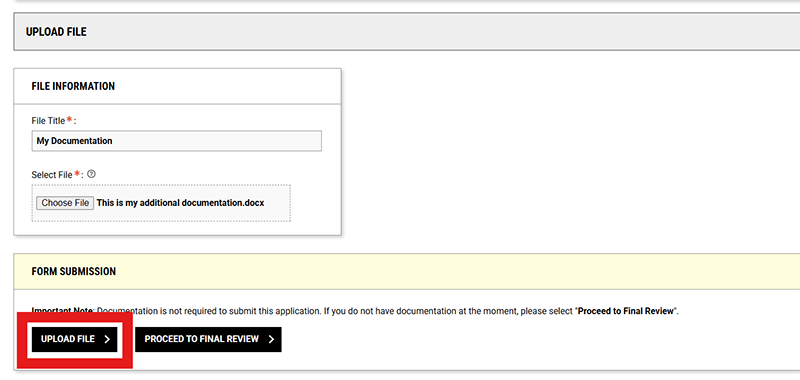
Step 5: A confirmation message will confirm that your file was uploaded successfully.
Step 6: You can upload additional files if needed, save your draft application, or select "Proceed to Final Review" to submit.