
How to Submit Additional Documentation
How to Submit Additional Documentation
Step 1: Log in to the DSS Portal.
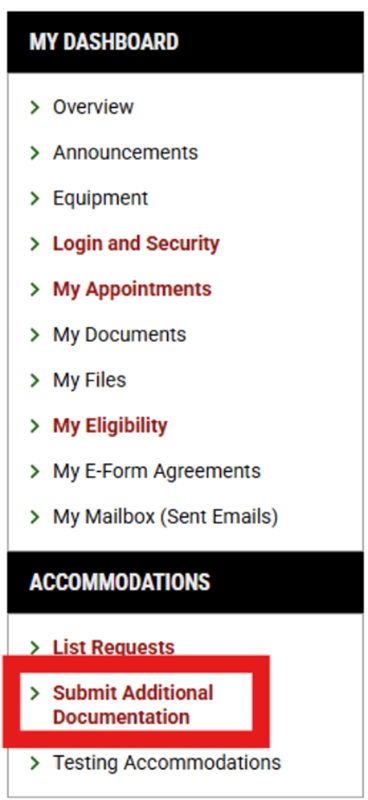
Step 2: Navigate to the menu on the left side of the screen. Under the heading "Accommodations," select "Submit Additional Documentation."
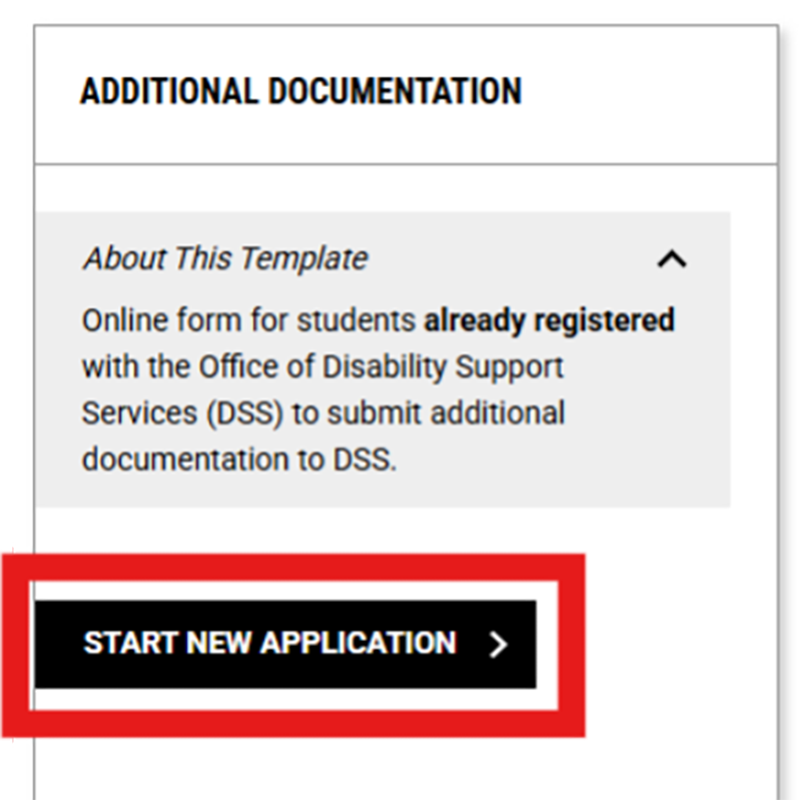
Step 3: In the Additional Documentation tile, select "Start New Application."
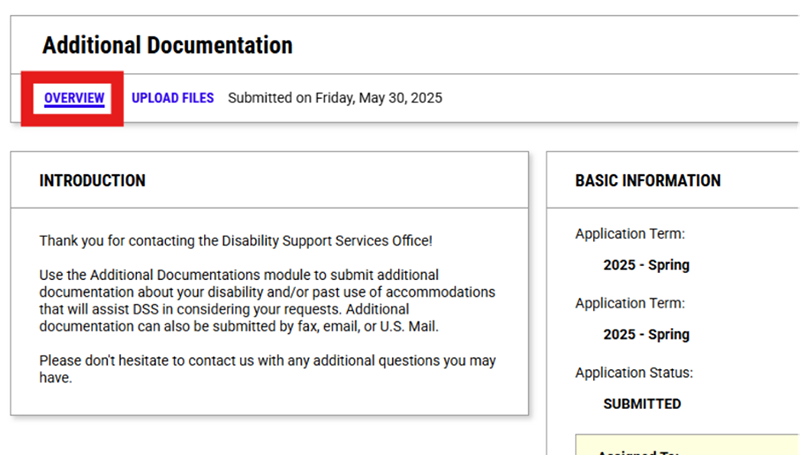
Step 4: The first page will be the Overview page. Read the information in the Introduction tile.
Step 5: In the List of Questions tile, briefly explain the reason you are submitting additional documentation (e.g., request additional accommodations, new diagnosis, updated records, etc.)

Step 6: In the Form Submission tile, select "Update Information" to proceed to the next page, where you will upload the documentation.

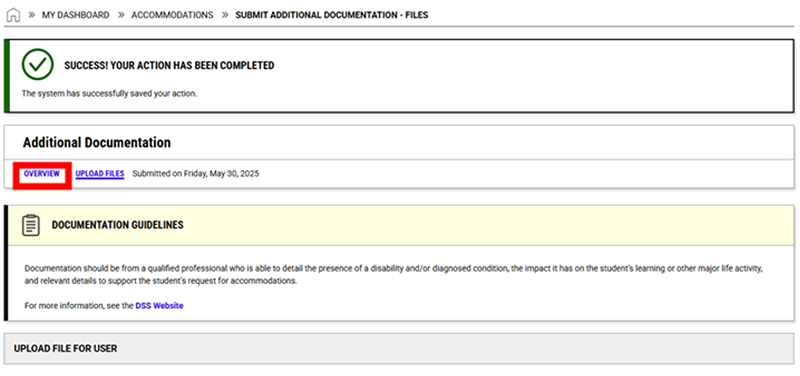
Step 7: On the Upload Files page, read the Documentation Guidelines, then scroll down to the File Information tile.

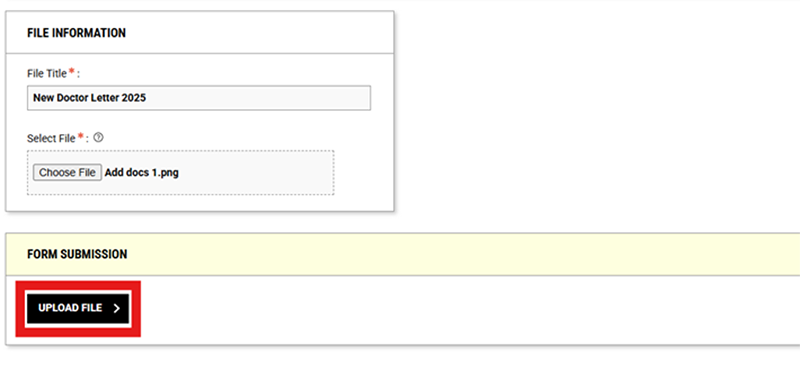
Step 8: In the File Information tile, enter a descriptive title for each file that you upload (e.g., New doctor letter 2025).
Step 9: Select "Choose File" and find the correct file to upload.

Step 10: In the Form Submission tile, select "Upload File."
Step 11: A banner will appear at the top of the page confirming that “your action has been completed” and the document has been uploaded to your Student Profile.

Step 12: Repeat steps 7–11 to continue uploading files until you have uploaded all documentation.
Step 13: When you are done uploading documentation, return to the Overview tab and review the list of uploaded files. Make sure that all your documentation has been uploaded.
Step 14: Email your Accommodations Coordinator or the Disability Support Services office to discuss your additional documentation and any additional accommodations that may be appropriate.