Category: Undergraduate Students
Life-sized Lincoln Logs
September 18, 2022 Written by Morrigan Kelley (Conservation Assistant, Winterthur/Hagley/UD, UD Class of 2022)
This summer I attended a National Park Brick, Earth, Stone, Timber (BEST) workshop in Traditional Wood and Log Preservation and Repair that took place in Grand Teton National Park. This adventure was generously funded through the Vicki Cassman Undergraduate Award in Art Conservation. This traditional technique workshop appealed to me because of the potential to learn hands-on historic preservation approaches taught by practicing preservationists. I previously had worked in a historic preservation archive and was eager to see what preservation looked like out in the field and on a larger scale. I also went hoping to learn how the field of conservation and the field of historic preservation differed in terms of approach and ethical considerations.
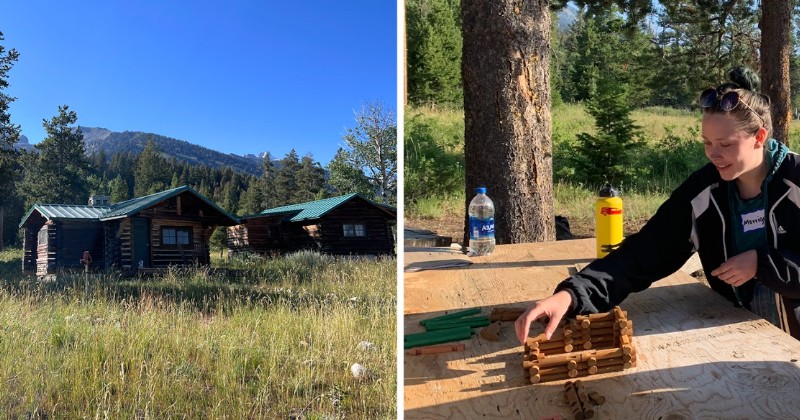
As part of the workshop, I had the opportunity to stay within the park for the week at White Grass Dude Ranch. The historic ranch, called a “dude"" ranch because wealthy East coasters would come to play cowboy in the Wyoming mountains, previously underwent a full-scale preservation project to modernize and make the 1913 log structures viable accommodations for the 21st-century visitor. Before I arrived all I knew about my stay at the ranch was that I would be given two things: linens and bear spray. From the start, I knew this workshop would be unlike anything I had yet to experience.
After I collected my linens and bear spray, I surveyed my cabin for the week. Deemed the “nice" cabin by the caretakers, I had the two bed one bath building all to myself, with rocking chairs on the porch overlooking a meadow. Throughout the week, my cabin would be used as an example of previous preservation and be used for a condition assessment of the logs that made up the structure.
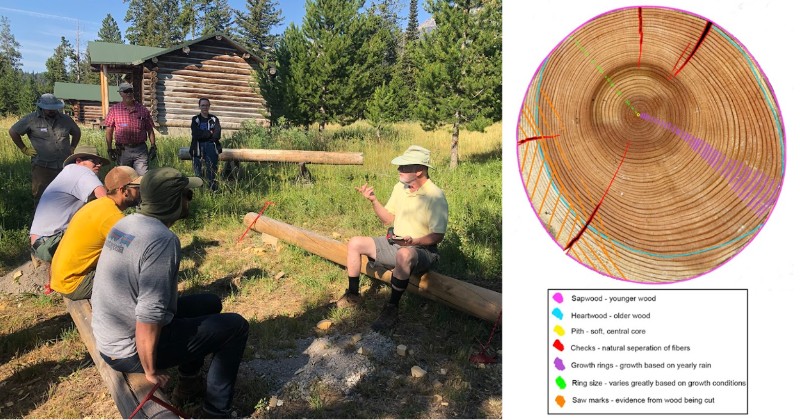
Day one and day two of the workshop were filled with learning from a fast-talking expert wood scientist, Ron Anthony. We learned to identify different aspects of wood and all the ins and the outs of how wood and logs react to different conditions. Rather than only having discussions, we worked together to do hands on activities demonstrating each aspect; we put wood chunks in water and watched it wick the water up along the grain (or through the “straws"" as the scientist demonstrated with actual straws in a bundle); we put together a log sawn in 14 pieces as a “puzzle"" to learn about sawing patterns; we got to play with Lincoln logs to consider if the wooden logs in the building we built would survive. For each activity, I worked alongside historic preservationists Mike Cardis from the Historic Preservation Training Center in Maryland and Robert Story from Yosemite National Park, merging our different perspectives based not only on experience level but also on geographic location.
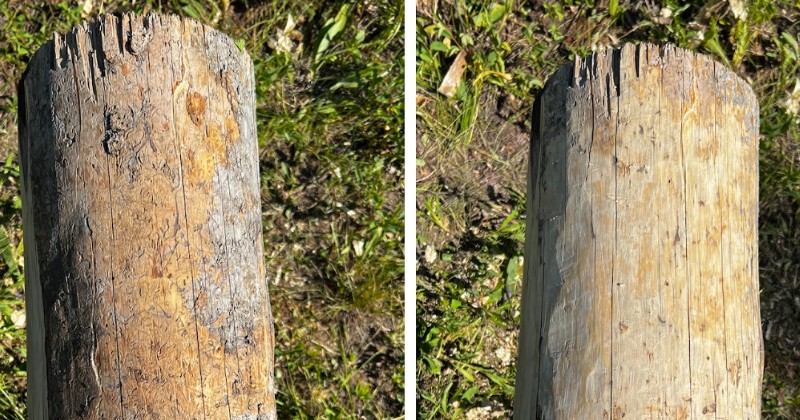
Supplementing our two days with the wood scientist, we were instructed by preservationist Erin Gibbs to discuss how to document preservation, and the impacts, both positive and negative, that preservation may have, and what signifies significance. Much like in conservation, we discussed who the stakeholders were and used theoretical scenarios to decide what the appropriate response would be. Additionally, we did condition assessments of log structures throughout the park to put our new knowledge to the test.
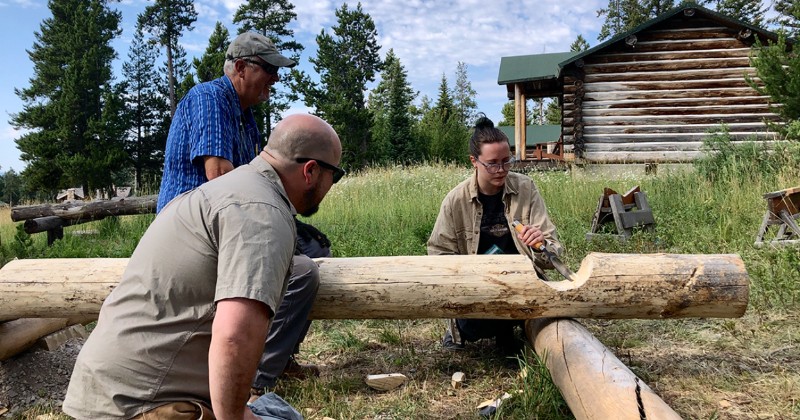
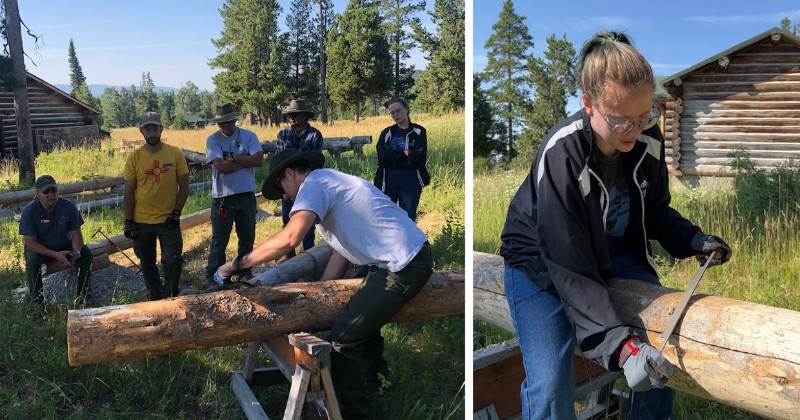
The next three days of the workshop were entirely hands-on. Learning from White Grass Preservationist Tim Green, we talked about safety, including goggles, gloves, personal awareness, and tool specific considerations, and watched demonstrations of the different techniques. Our project for the week was to begin building the walls of a future storage building to learn how to use the different tools and try traditional, all by hand, techniques that were used when many historic log structures were initially built. I had never used any of these tools before, so I had a lot to learn.
To start, we began with log peeling using a draw knife. This method was easiest when sitting on the log in a sawhorse for stabilization and pulling the draw knife with the beveled edge down towards you. Logs are peeled to remove the bark. Leaving bark on the log allows more places for small critters to live and moisture to hangout (moisture is the enemy of wood). The results were satisfying.
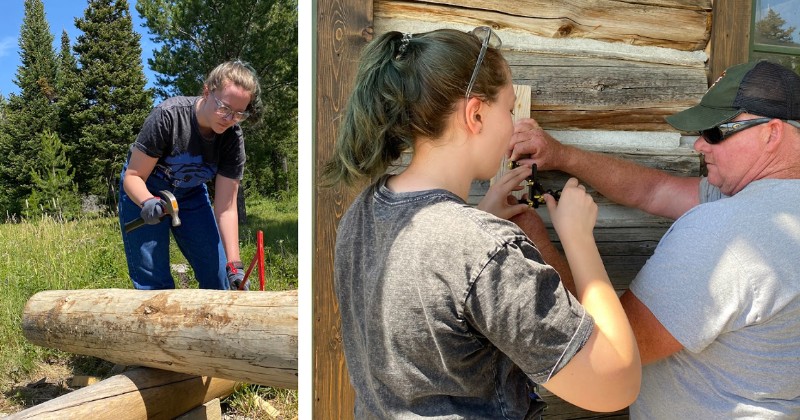
Step two was to scribe where the log would join with the next log beneath it. To start, we moved the log from the sawhorse and sat it atop the log we would be connecting. Then, we used a log dog, which looked like a very large and sharp staple, to hold the two logs in position. Then we calibrated a protractor and drew a semicircle where material from the top log should be removed, creating a saddle notch, so that it sits snuggly on top of the bottom log perpendicularly and forms the corner of the building.
After scribing we got to work on removing material to make a saddle notch. We used axes to initially remove material in bulk before we refined the edges and tuned the notch to fit perfectly with a chisel. It took many tried to get the perfect fit, but we got there! After finishing we stamped our names int the log using a metal stamp and hammer. Maybe one day I will go back to White Grass Dude Ranch and find my name on a building. During the workshop, four new storage buildings were started in total by all the groups.
It was such a pleasure getting to learn alongside so many passionate people. When not learning, I had the opportunity to go for hikes to waterfalls, lake overlooks, and even stand where Ansel Adams took his iconic 1942 photograph The Tetons and The Snake River. Ultimately, I walked away from this experience not only having learned many things about wood and logs and their preservation, but I also left with new connections.
