
Uploading Files via IMCE
You can upload files to your UDrupal Web site using IMCE by following these steps:
- Log in to a UDrupal Web site on which you have permissions to upload files.
- Click My Account in the Navigation menu. (The link may be in a different menu depending on how your UDrupal site is configured.)
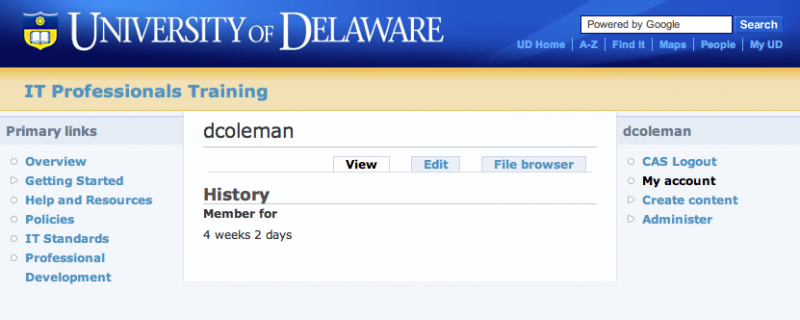
- On the My account page, click the File Browser tab.
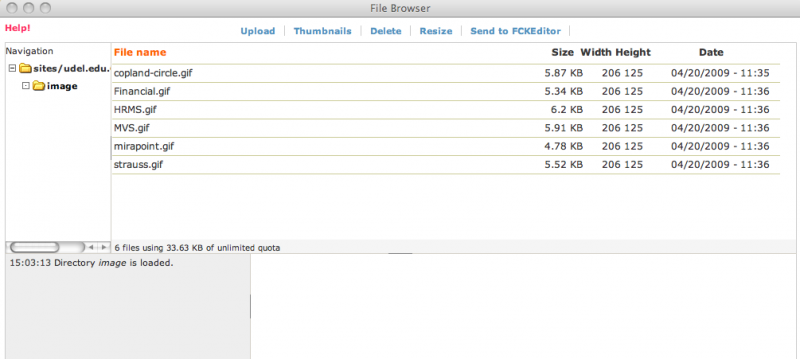
- To upload a file, select the directory in which you would like to save the file.
- Click Upload at the top of the window.

- Click the Choose File button.
- Locate and select the file to upload from your computer.
- If you would like to create thumbnails of an image you're uploading, select the appropriate checkbox(es).
- Click Upload to transfer the file to the server (and create thumbnails if you selected that option).
Creating New Directories
If you need to create a new folder in which to store your files, this can be done by going to Administer > Site Configuration > IMCE > Directory Creation Tool.
Adding Extension Types
By default, only images (jpg, gif, jpeg, png) are allowed to be uploaded. To add additional allowable extensions, go to Administer > Site Configuration > IMCE, and select "edit" under the Configuration Profiles section. This will allow you to set what types of files can be uploaded by different levels of users. For example, you could allow only Administrators the ability to upload .exe files; This would allow for their use in a controlled manner. Be careful about allowing too many extensions, someone with malicious intent or simply someone who does not understand could do a lot of damage to your site!
