BlueHen Planner Guide for Students

Tools & Resources
BlueHen Planner Student Guide
Follow the steps below to learn about the BlueHen Planner tool.
- Student must be an active student
- Students can begin planning for a future term once Courses Search is live for that term (typically 2-4 weeks before registration opens)
- The planner is best used for Fall and Spring terms
- The planner requires students to select 3 courses, so it is not a useful tool for winter and summer
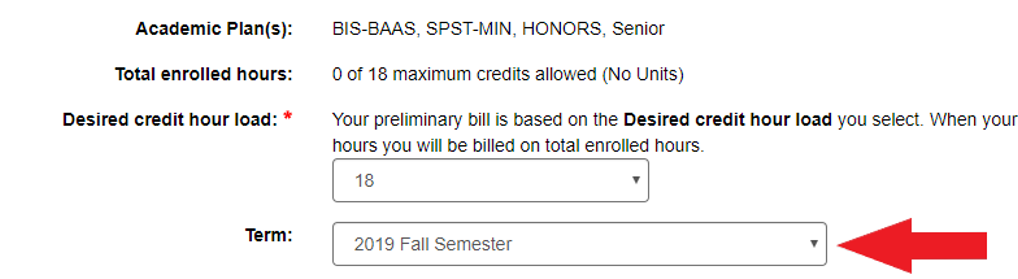
Before launching the planner, students must select the term they wish to plan for using the "term" dropdown in WebReg.
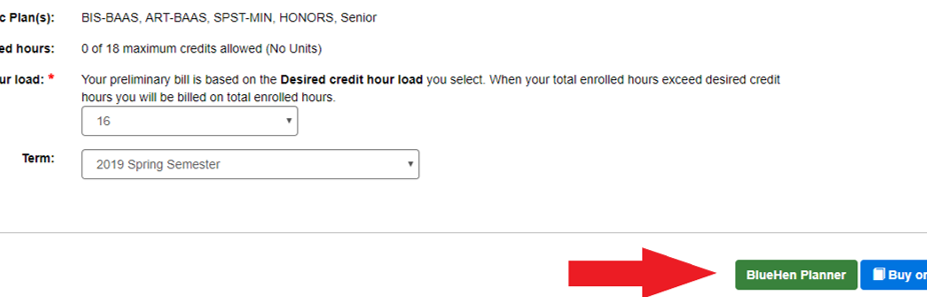
From WebReg, students can select the green "BlueHen Planner" button to launch the planner.
Students can click and drag to create time blocks they have other time commitments, for example, for practice or work.
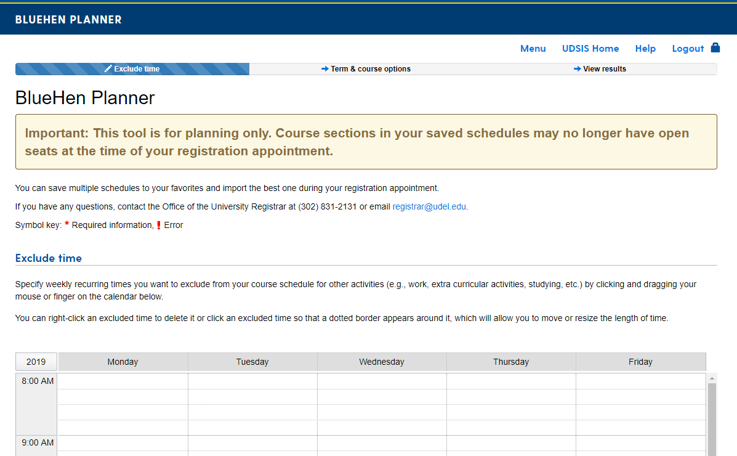
The planner will not display sections that meet during excluded times.

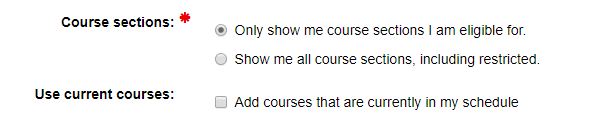
Course Options:
“Only show me courses I am eligible for”
This will not display sections the student does not meet, for example due to pre-reqs or reserve caps
“Show me all course sections, including restricted”
This will allow students to see all available course options. However, they may not be eligible to enroll in all sections they see when they choose this option
Use Current Courses:
"Add courses that are currently in their schedule"
This is helpful if students are already enrolled in a couple courses and wish to finish out their schedule
Use the magnifying glass or text box to enter subject/catalog number for a course. Then click “Add Course” button to add to list of courses planner will review.
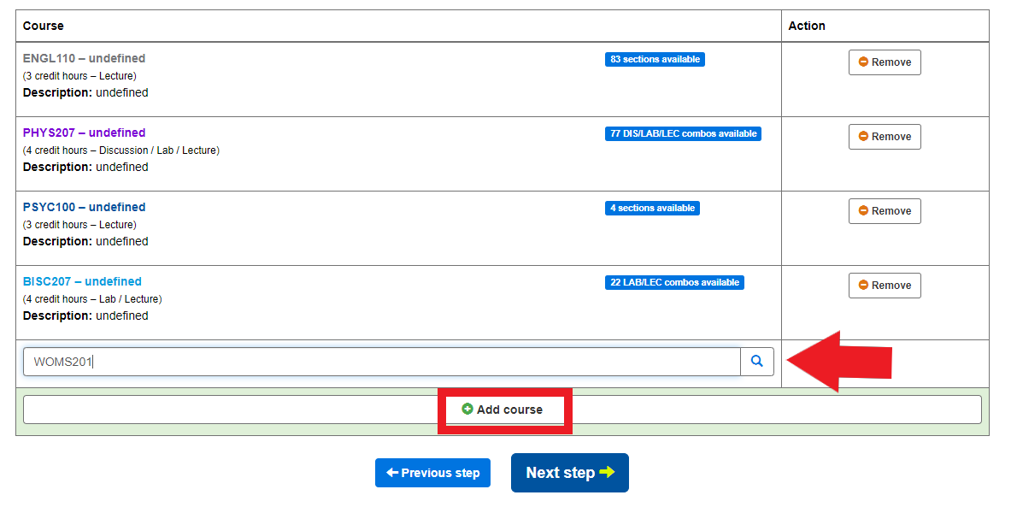
Click “remove” button to remove a course from the list of course to be reviewed by the Planner.

Problem: Minimum Couse Error
Solution: Add at least 3 courses to be reviewed by the Planner

Problem: Total Possible Schedules Error
Solution: Eliminate course(s) to bring the total possible schedules to below the number listed in the message. The student can do a first pass at planning, and then once courses are selected, use the exclude time feature to block off the times of their selected courses for a second pass at planning. Alternatively, if they are able to register, they could register for a class or two and then use the planner for the remaining courses.

Students may see this notice when using time exclusions. If they block off too much time they may see that they do not have possible schedules that will work with that excluded time.

*If you have any questions about course offerings, please contact the Academic Department.
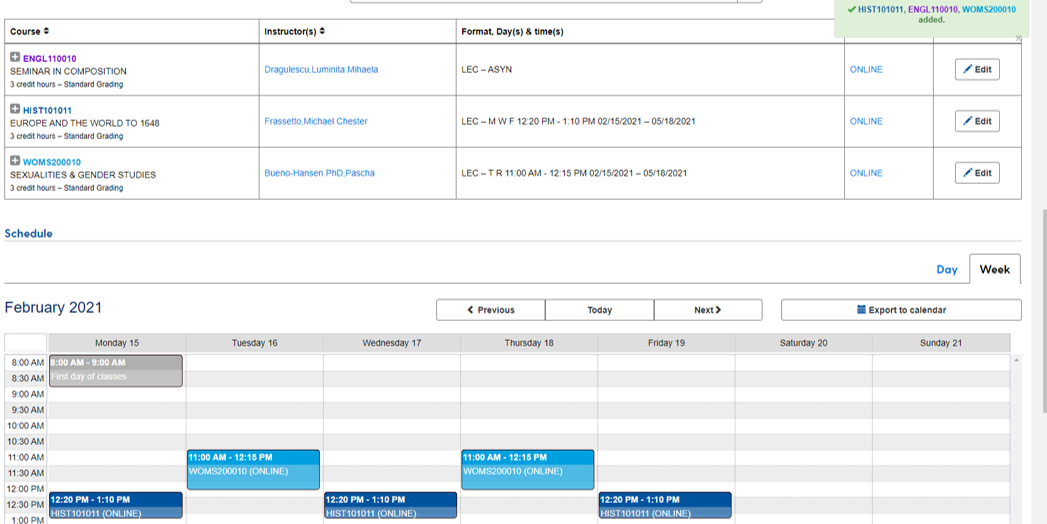
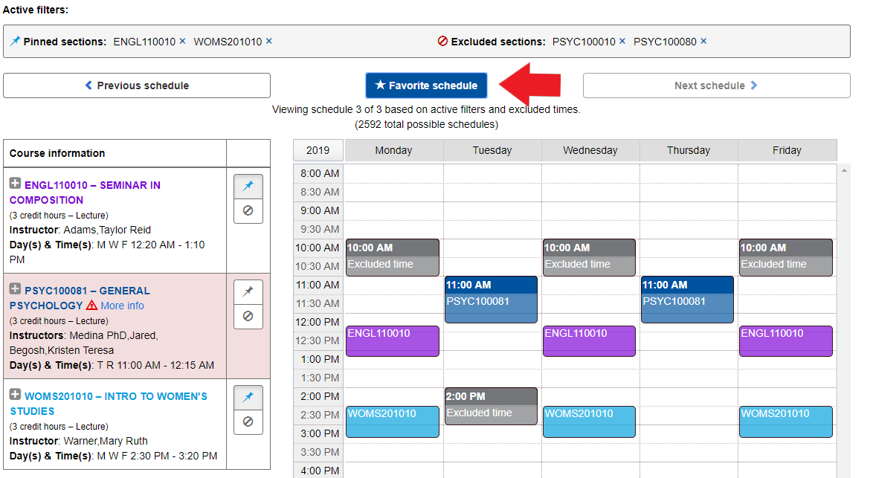
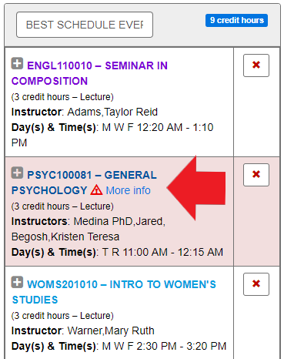
Students are presented with a series of possible schedules. From here they can pin and exclude sections until they have their desired schedule.
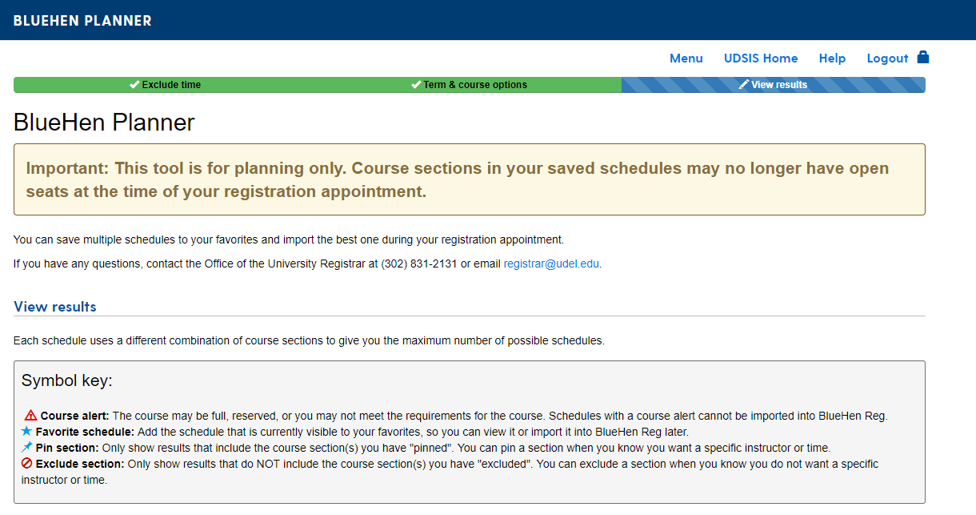
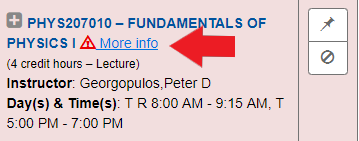
The Planner shows the Course information with any alerts that may exist on the left, and a calendar view of the sections with excluded time visible on the right.
Course Alerts display if a student does not meet the requisites, reserve cap, if the course is full or other errors that would prevent the course from being uploaded into Webreg. Click “More Info” to see message.
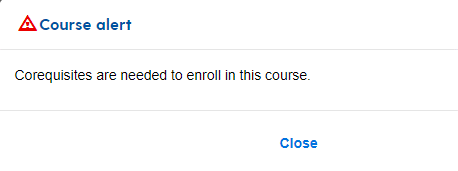
A pop up window will appear displaying the reason for the course alert.
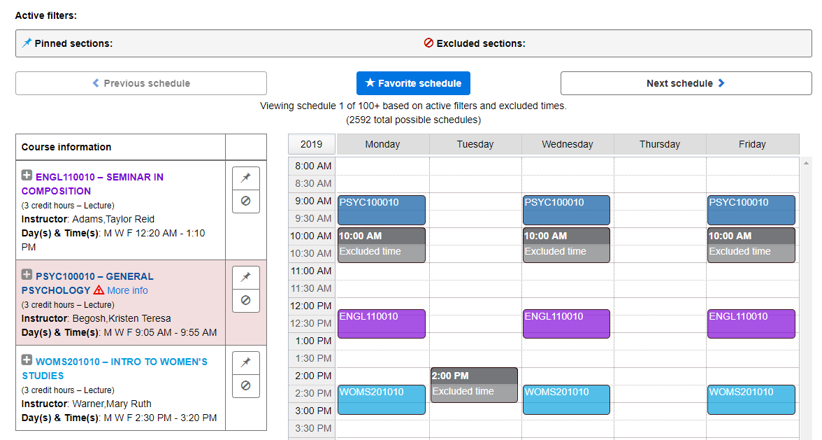
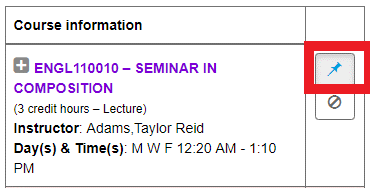
Once a student knows they want a specific section of a course, they can select the pin icon next to the section. This updates the displayed schedules to only show possible schedules with that pinned section.
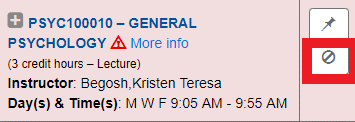
If a student knows they do not wish to include a specific section of a course, they can select the exclude icon next to a section. This updates the displayed schedules to exclude this section.
As sections are pinned and excluded they appear in the “Active Filters” box. Students can use the “previous schedule” and “next schedule” buttons to flip through possible schedules.

Once the student has found the perfect schedule, they can select the “Favorite schedule” box.
Students can favorite multiple favorites from the possible schedules.
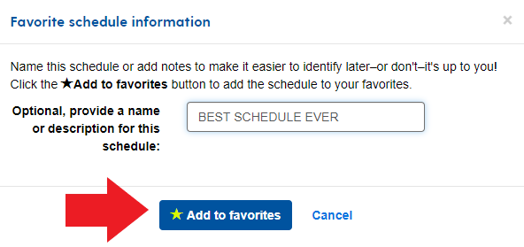
Once done selecting favorites, they can click “Finish and View Favorites”.

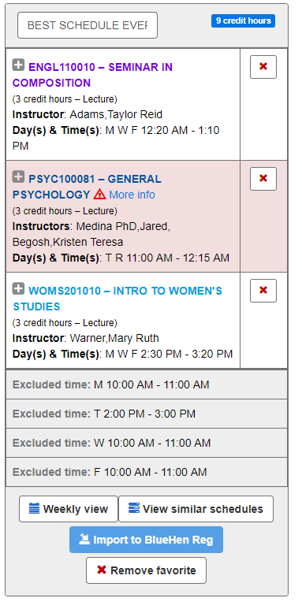
Students will see all favorited schedules for that term. Additional options are available for each schedule:
- See similar schedules
- Remove favorites
- Remove courses from favorited schedules
- Import schedule to WebReg
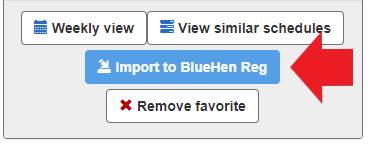
Students can import a schedule directly into WebReg for registration. When ready to import, student can click the “import to BlueHen Reg” button to import the schedule into Webreg.
A student cannot import a schedule that contains a course alert. They could remove that course if they wish to proceed with importing.
Students then click “import schedule” to submit the enrollment requests in Webreg for the desired courses.
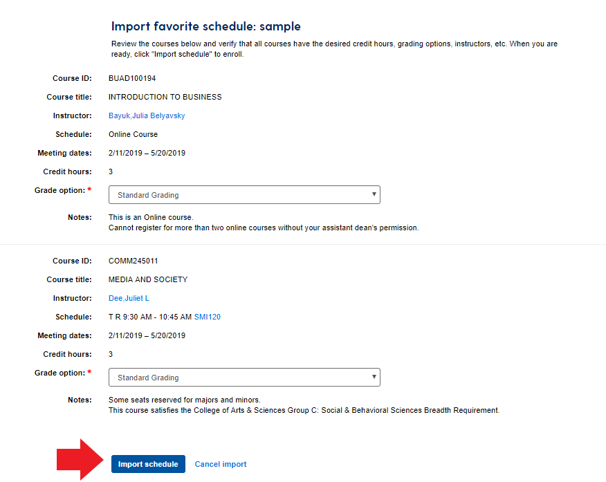
Students will receive notice if everything went through or if there were any errors.